# reactive
reactive 会对传入的引用类型进行包裹,创建一个该对象的 Proxy 代理,它是源对象的响应式副本 —— copy,不等于原始对象
const raw = {};
const proxy = reactive(raw);

// 代理和原始对象不是全等的
console.log(proxy === raw); // false
reactive定义引用数据类型(以对象和数组举例),它能够将复杂数据类型的内部属性或者数据项声明为响应式数据,所以reactive的响应式是深层次的,其底层是通过ES6的Proxy来实现数据响应式
import { reactive } from "vue";
const proxy = reactive({});

const raw = {};
proxy.nested = raw;

console.log(proxy.nested === raw); // false
console.log(proxy.nested === reactive(raw)); // true
在给 reactive 封装的对象设置内部属性时,如果这个属性是引用数据类型,那这个属性也会被封装成 Proxy 对象 ——
所以相对于Vue2的Object.defineProperty,具有能监听增删操作,能监听对象属性的变化等优点
# 基本类型参数
基本数据类型(数字、字符串、布尔值)在reactive中是无法被创建成proxy对象的,也就无法实现监听
<template>
<div>
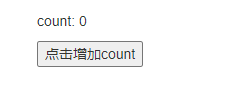
<p>count: {{ count }}</p>
<button @click="c">点击增加count</button>
</div>
</template>
<script setup>
import { reactive } from "vue";
let count = reactive(0);
const c = function () {
count++;
console.log("count: ", count);
};
</script>
 点击
点击button,发现界面上的count没有发生变化
出现提示
value cannot be made reactive: 0
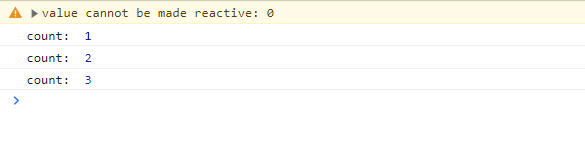 但是我们打印
count,发现count的值发生了改变,但没有体现到页面上,这就是没有实现响应式,因为基本类型无法被创建成proxy对象,此刻count的类型是Number
这就是ref的优势了,当然,如果你非要通过reactive来设置数据,那就需要把基本数据类型转为对象类型来存储 👇
<template>
  <div>
    <p>count: {{ count.val }}</p>
    <button @click="c">点击增加count</button>
  </div>
</template>

<script setup>
import { reactive } from "vue";

let count = reactive({
  val: 0,
});

const c = function () {
  count.val++;
  console.log("count: ", count.val);
};
console.log(count);
</script>
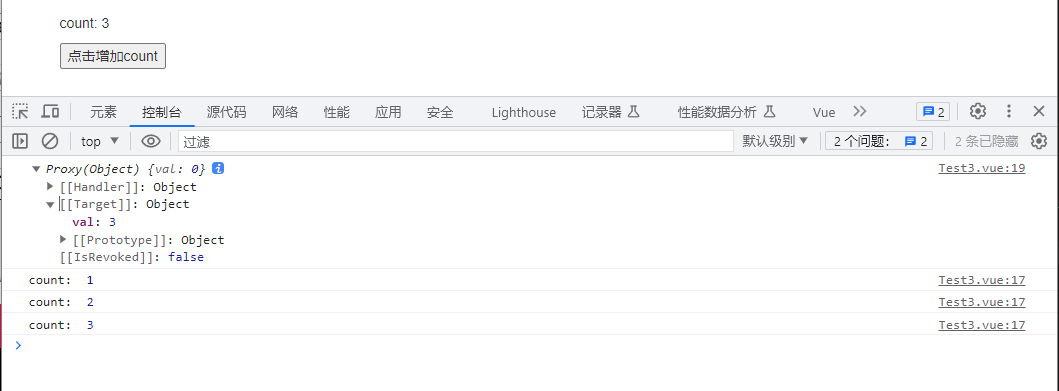
这样就可以实现响应式数据的需求了,但需要注意的是,这样配置对象的方式,count.val的类型仍然是Number,不是proxy代理的对象
作为对比,可以参考下面的代码
<template>
  <div>
    <p>count.val: {{ count.val }}</p>
    <p>count.out.inner: {{ count.out.inner }}</p>
    <button @click="c">点击增加count</button>
  </div>
</template>

<script setup>
import { reactive } from "vue";

let count = reactive({
  val: 0,
  out: {
    inner: 0,
  },
});

const c = function () {
  count.val++;
  count.out.inner++;
  console.log("count.val: ", count.val);
  console.log("count.out.inner: ", count.out.inner);
};
console.log(count);
console.log(count.out);
</script>
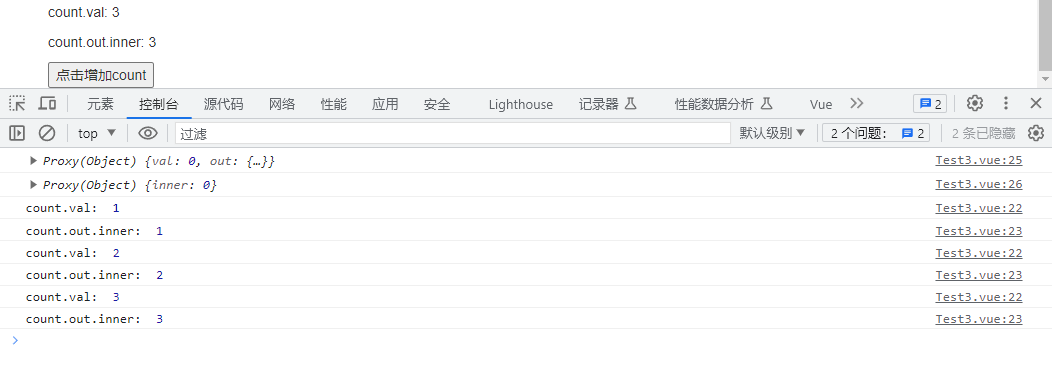
上面这个例子这也证明了reactive的响应式是深层次的 —— 生成只有引用数据类型被封装成了Proxy对象,基本类型仍然是基本类型,但是由于外层包裹了一层Proxy,所以响应式是实现了的
# 不常见的数据类型
给reactive传入一个Date对象
<template>
  <div>
    <p>{{ date }}</p>
    <button @click="c">点击增加时间</button>
  </div>
</template>

<script setup>
import { reactive } from "vue";

let date = reactive(new Date());

const c = function () {
  console.log("pre_date: ", date);
  date.setDate(date.getDate() + 1);
  console.log("cur_date: ", date);
};
</script>

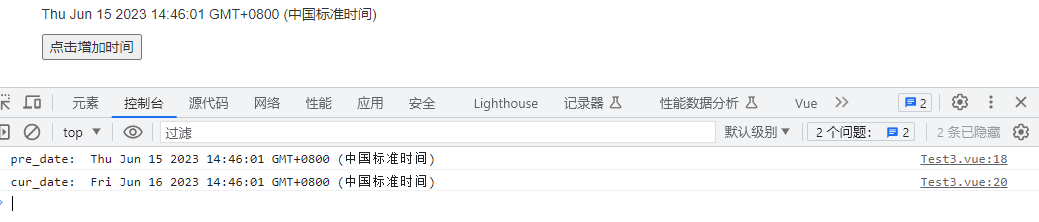
点击button,又出现了之前的问题,数据发生了改变,但是没有响应式到页面上,我们通过之前的方法,在date外层加一层对象,发现仍然是不响应的
<template>
  <div>
    <p>{{ date.val }}</p>
    <button @click="c">点击增加时间</button>
  </div>
</template>

<script setup>
import { reactive } from "vue";

let date = reactive({
  val: new Date(),
});

const c = function () {
  console.log("pre_date: ", date.val);
  date.val.setDate(date.val.getDate() + 1);
  console.log("cur_date: ", date.val);
};
</script>
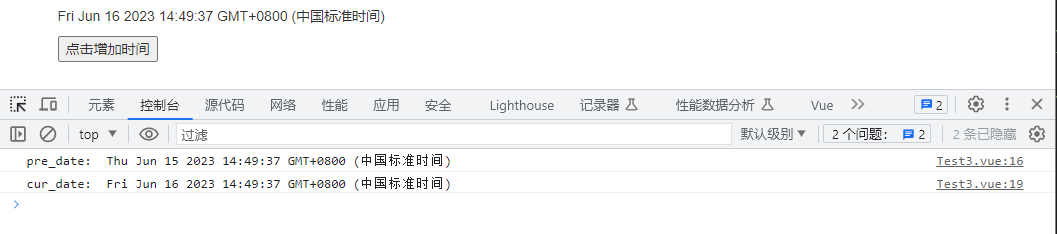
那这种情况,就要使用另一种方法来实现响应式了 —— 重新赋值
<template>
  <div>
    <p>{{ date.val }}</p>
    <button @click="c">点击增加时间</button>
  </div>
</template>

<script setup>
import { reactive } from "vue";

let date = reactive({
  val: new Date(),
});

const c = function () {
  console.log("pre_date: ", date.val);
  date.val.setDate(date.val.getDate() + 1);
  date.val = new Date(date.val);
  console.log("cur_date: ", date.val);
};
</script>
把修改后的date.val放到一个新的Date对象里,然后重新赋值给date.val,这样就可以实现响应式的效果了 —— 相当于浅拷贝
# 总结
reactive是Vue3中提供的实现响应式数据的方法。- 在
Vue2中响应式数据是通过Object.defineProperty来实现的, - 在
Vue3中响应式数据是通过ES6的Proxy来实现的。 reactive参数必须是对象 (json/arr)等- 如果给
reactive传递了其它不常用的对象,默认情况下,修改对象无法实现界面的数据绑定更新。如果需要更新,需要进行重新赋值。(即不允许直接操作数据,需要放个新的数据来替代原数据)